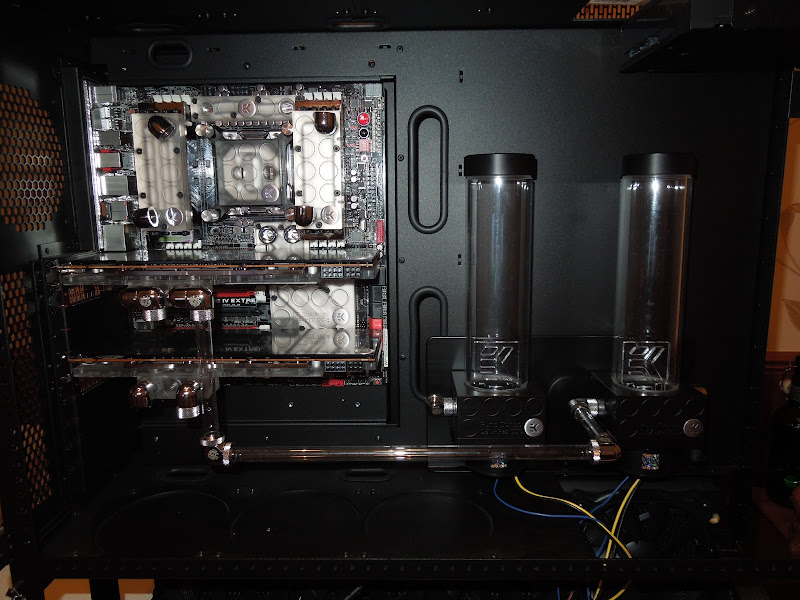
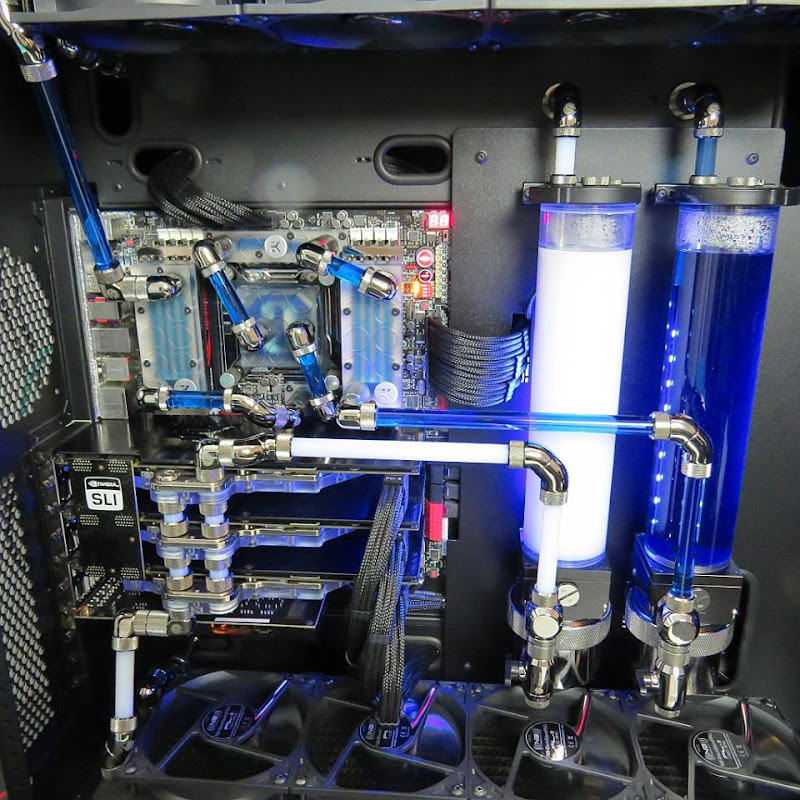
Project Bloodfang - New PC Build Log.

So, first update for a few weeks, I had a problem sourcing enough bitspower fittings in the UK, so had to order them in from the US, unfortunately due to UK customs being absolutely crap, by the time they got through I was on my way to Sweden.

To this is the first weekend since getting back ive had time to progress.

On with the show!

Holy bitspower batman! (This isnt even all of them).
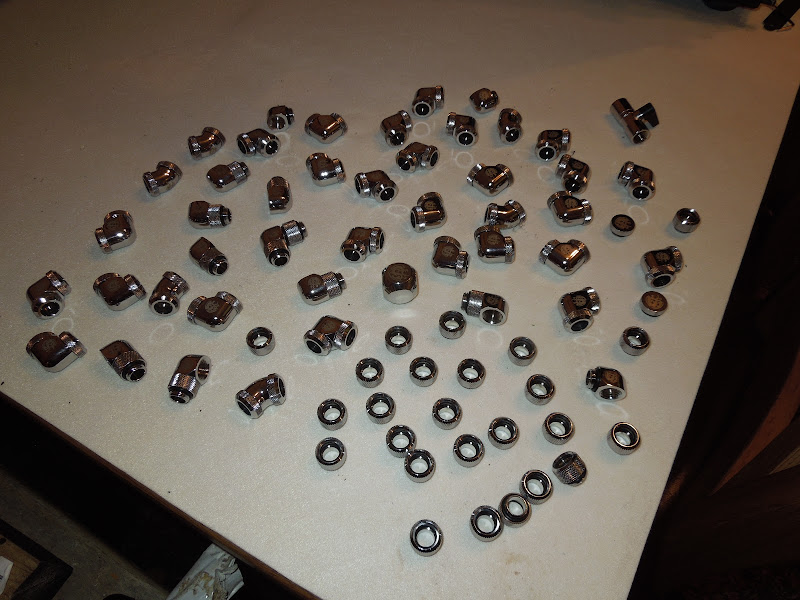
DSCN3195.JPG[


Unfortunately the pump mounts I made up were made of aluminium, so once i started to work on them and added any weight, they bend. No good.

So, in the meantime, big shoutout to my main man Power for sorting a steel backplate, much more secure and sturdy, no issues with wobble/bending now!
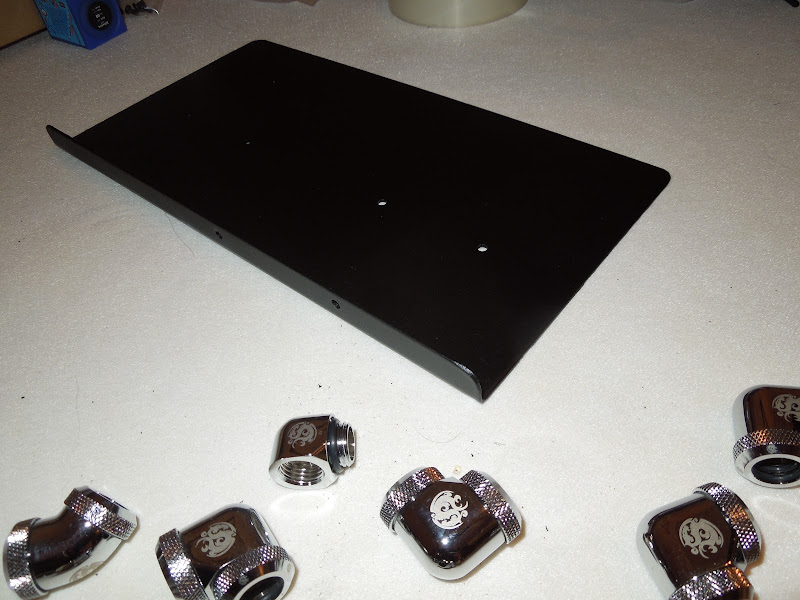
DSCN3190.JPG


time to start measuring up the pipe, add some tape either side of where your cutting incase of any accidents...
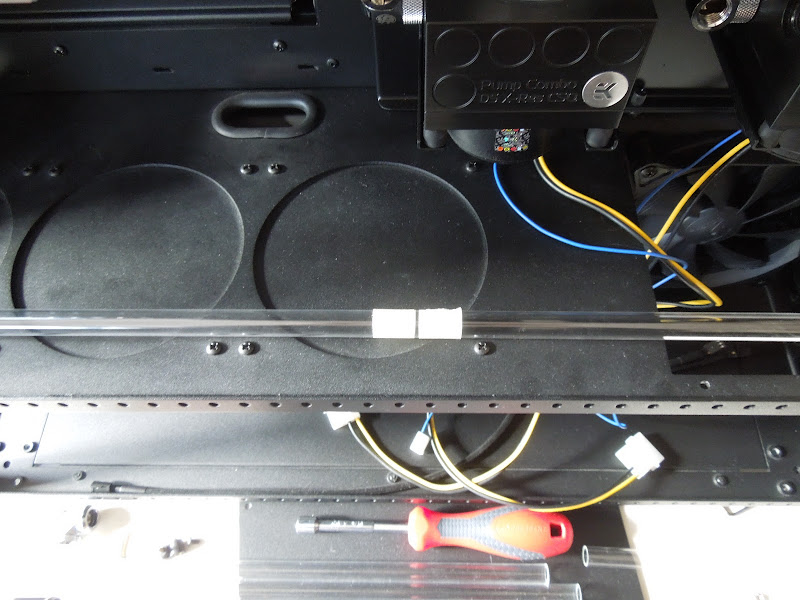
DSCN3162.JPG


Created a little mini rig to deal with cutting
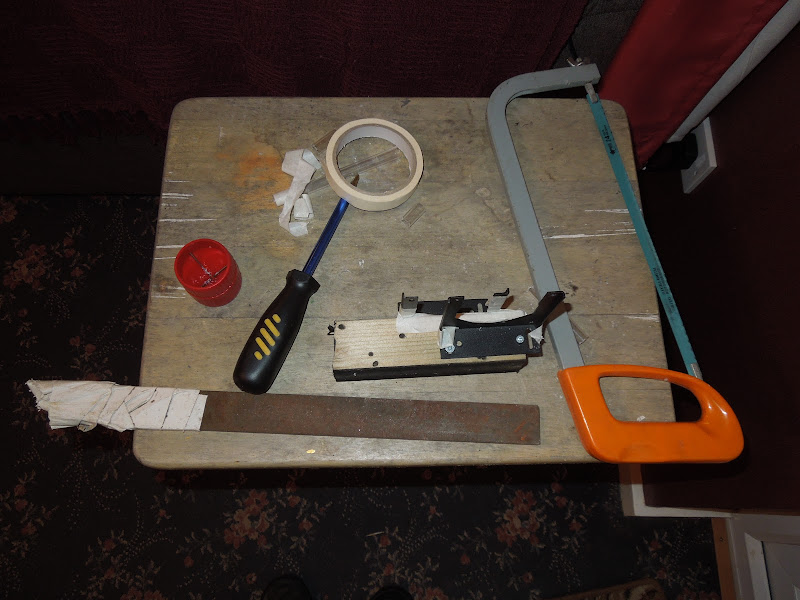
DSCN3164.JPG


First pipes in place...

DSCN3166.JPG


Second one measured to length, unfortunately light was fading so called it a day here
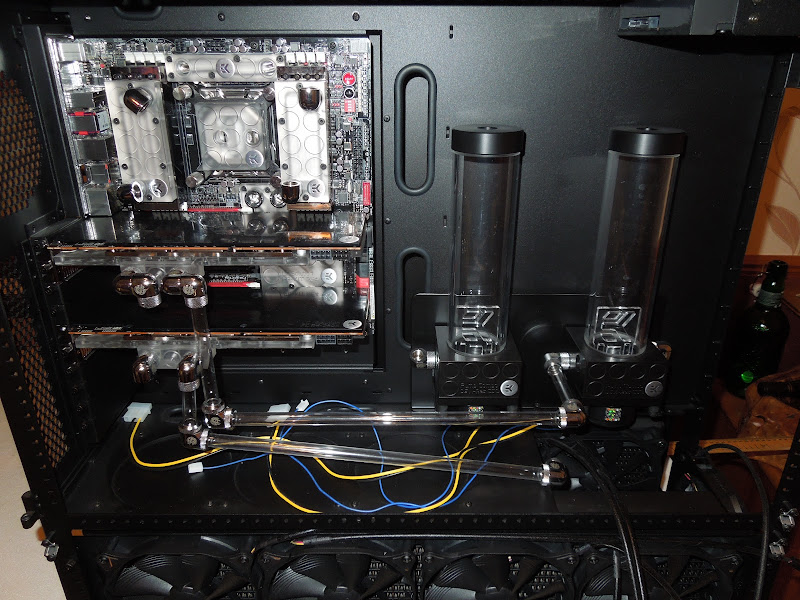
DSCN3193.JPG


And a shot of the tubing waiting to be used. I sourced a great deal of 10 lengths for about half the price of what youd normally pay.
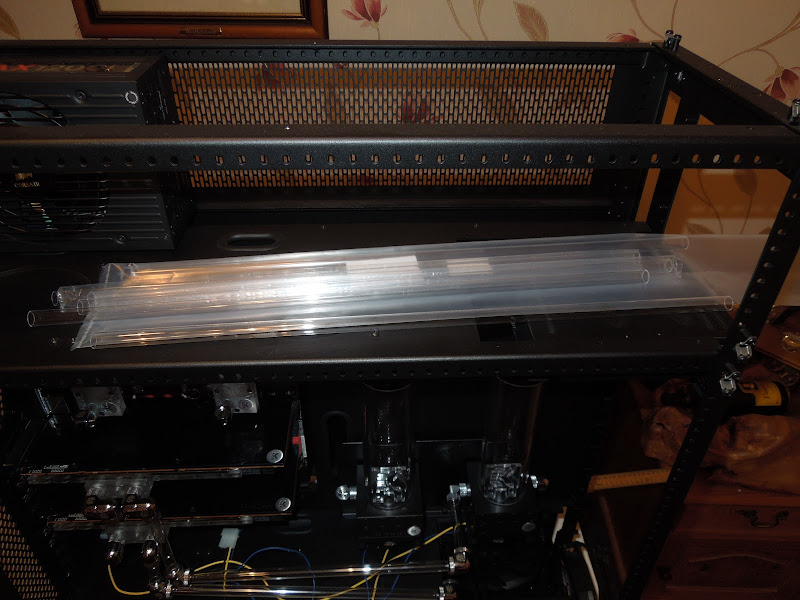
DSCN3192.JPG
 
Loving this thread!

So though, what happens when you finally get this bad boy built, go to boot it up and only come to find England doesn't have a strong enough power grid to boot her? :D
 
Loving this thread!

So though, what happens when you finally get this bad boy built, go to boot it up and only come to find England doesn't have a strong enough power grid to boot her? :D

Ive done individual quick tests on each bit of hardware, but my absolute worst nightmare is that say, 1 of the memory sticks is faulty despite passing quick boot checks...... i think id cry.
 
One hell of a rig you have there...
Liking the black and red theme, I have the same theme going as well as the same MoBo :p

You should post your performance benchmarks once finished, and see if this bad boy was really worth it (y)
 
What's your total budget for this project ! Dang i need to build me another machine.

To view this content we will need your consent to set third party cookies.
For more detailed information, see our cookies page.


But dont really have a budget in mind, just, what I feel is right.
 
Busy busy busy with work and XenForo imports at the moment...

Anyway a delayed update but none the less.

Started the second loop, getting the radiator in place (this actual design of this case only allows for a 120.4 radiator in top, however if you move some bits around, you can fit a 140.4 in there as you can see!) at the top.

Also added a drain into the first loop (the T peice near the pump) to allow for quick draining if needs be.

DSCN3253.JPG


Top view:
DSCN3252.JPG


More goodies arrived:
DSCN3254.JPG


In every build I see, people ruin it with the piping around the cpu / memory modules. They often use diagonal pipes which just look naff if you ask me.

I can see why they do it, getting them done at 90 degree angles takes some work and is very difficult, I had to remove the second set of ram blocks to get this bit done:

DSCN3257.JPG


However totally worth it imho when you end up with it looking like this

DSCN3268.JPG


For example here is the same board, and same waterblocks as my build, but on diagonals, imho, it just ruins all the otherwise amazing work done elsewhere in the case.

971923_671608742867176_178997771_n.jpg
 
How much longer until you think this bad boy will be up and running?

I had some spare time today so managed to get most the top loop done, just need to add in a port up top to bleed it off and a valve down bottom. All going well I can do a 24h leak test tomorrow and aim tog et the remaining hardware installed and running early next week.
 
Worked today on finishing and tidying up a lot of stuff, the remaining "todo" for the watercooling loops:
Top loop: Install a drain pipe
Bottom loop: Install the second radiator.

Anyway some pics of how its looking.

DSCN3299.JPG


Re-worked the top section to give some more room for cabling / other assorted things.

DSCN3303.JPG


DSCN3302.JPG


Down below:
DSCN3306.JPG


DSCN3307.JPG


DSCN3309.JPG


DSCN3311.JPG


Added a lampron touch controller. Frankly I don't need or want anything more complex, and this seemed to fit a nice bill between quality and price. Very nicely built!

DSCN3314.JPG


Perfect.

DSCN3319.JPG


Probably should have done this before installing the pumps... oops.... anyway time to sleeve those cables!

DSCN3320.JPG
 
And so the cable work begins....

DSCN3324.JPG


DSCN3326.JPG


And behind... not so tidy, but functional.

DSCN3327.JPG


Still haven't decided on coolant color yet, though leaning towards having them both as mayhems pastel red, or do I go for something more, out there like a UV clear blue?

Same for lighting, haven't decided on red / white / uv lighting.

Suggestions on either of these problems welcome :)
 
Top Bottom