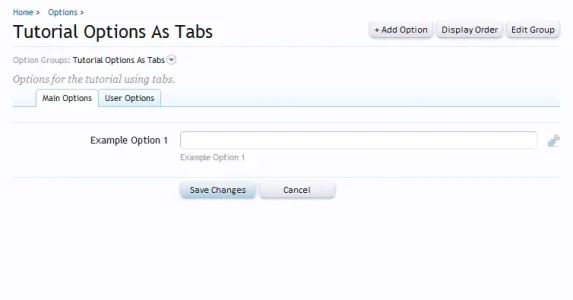
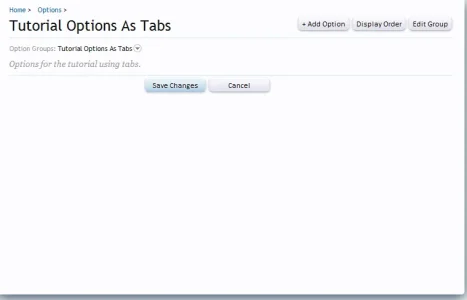
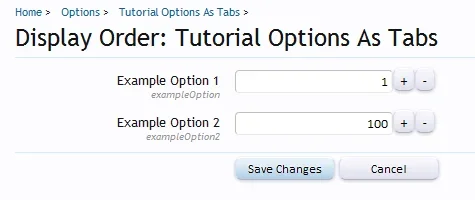
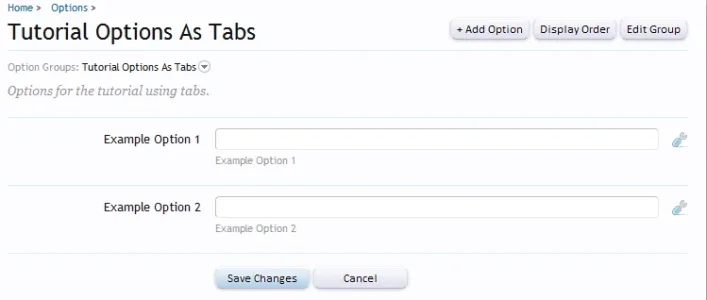
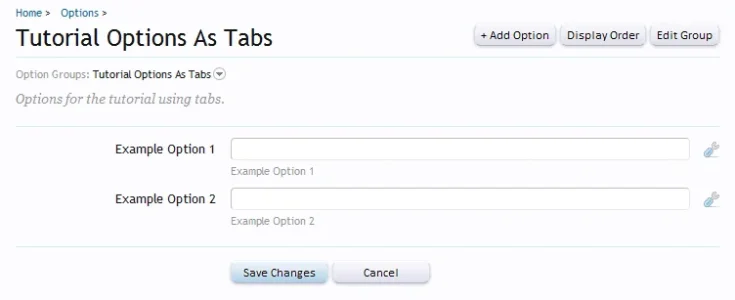
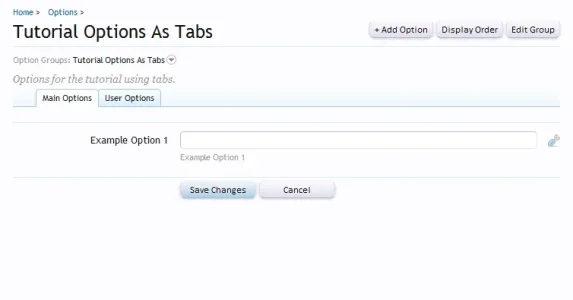
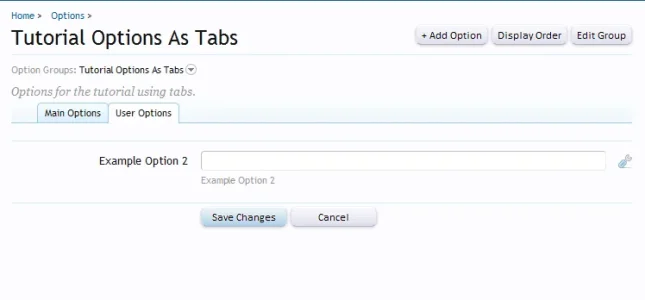
Step 3 - The Template
Ok, now we need to discover which template XenForo uses in the options page.
Since we are in the AdminCP, we need to go to
AdminCP -> Development -> Admin Templates. There, you should search for
option_list template. This is the template used to list options for each add-on.
Next, copy all the template into a editor and let's do our modifications.
With the editor open find this piece of code:
Code:
<xen:if hascontent="true"><div class="optionGroupDescription muted"><i><xen:contentcheck>{xen:raw $group.description}</xen:contentcheck></i></div></xen:if>
Right
below insert this:
Rich (BB code):
<ul class="tabs mainTabs Tabs" data-panes="#OptionPanes > li" data-history="on">
<li><a href="{$requestPaths.requestUri}#1">Main Options</a></li>
<li><a href="{$requestPaths.requestUri}#2">User Options</a></li>
</ul>
Exaplanation:
#OptionPanes - This is the unique indentifier of all our tabs.
#1, #2 - Each tab must have a unique indentifier too. So, in this case we use numbers.
Ok, we just have added our tabs. But the tabs will not work if we dont wrap the content of the options into the proper html.
Now, find this:
Code:
<xen:foreach loop="$renderedOptions" value="$_group">
Right
above, insert this:
OptionPanes - Remember? The unique indentifier of all our tabs.
Now, find this:
Code:
<xen:submitunit save="{xen:phrase save_changes}">
And right
above inser this:
This closes the contents of our tabs. SO, now we have wrapped all the options into the proper html tags to make the tabs works. But we have one thing to do yet in this template.
Find this:
Code:
<fieldset class="optionList">
Above, insert this:
Code:
<li id="{$i}" class="profileContent">
Dont worry about the
{$i} variable. I'll explain later.
Search this:
Below insert this:
With this we are wrapping each group options (remember, the 100 difference value) into a
<li> tag with the respective indentifier. But wait. The unique identifier of each tab is
#1 and
#2. How it will work?
Well, we have another thing to do:
Search this:
Code:
<xen:foreach loop="$_group" key="$optionId" value="$renderedOption">{xen:raw $renderedOption}</xen:foreach>
And
above inser this:
Code:
<xen:set var="$i">{xen:calc '{$i} + 1'}</xen:set>
The
{$i} variable, remember? So, this will be used to specific the identifier of each tab.
Since we have two tabs #1 and 2#, we have to find a way to set a unique indentifier in the foreach routine. That way, every time the foreach complete the routine it will add
+1 to
$i variable.
We will end up with this:
Code:
<li id="#1" class="profileContent">EXAMPLE OPTION 1<li>
<li id="#2" class="profileContent">EXAMPLE OPTION 1<li>
That's all to finish our template. Now, you need to create it in the admin templates section.
AdminCP -> Development -> Admin Templates and click in the
+ Create Admin Template button:
Template Name: OptionsAsTabs
Content: The content of your template. Just in case, I'll put here:
Code:
<xen:title>{xen:phrase options}: {$group.title}</xen:title>
<xen:h1>{$group.title}</xen:h1>

<xen:container var="$head.optionCss">
<style>
.hiddenOption   { display: inline-block; font-size: 9px; margin-right: 3px; color: @mutedTextColor; }
.hiddenOption a { position: static; }
.optionList a.optionAnchor { position: absolute; top: -80px; } /* prevents anchors pointing going under the fixed header */
</style>
</xen:container>

<xen:if is="{$canEditGroup}">
<xen:topctrl>
<a href="{xen:adminlink 'options/add-option', '', "group_id={$group.group_id}"}" class="button">+ {xen:phrase add_option}</a>
<a class="button" href="{xen:adminlink 'options/display-order', $group}">{xen:phrase display_order}</a>
<a class="button" href="{xen:adminlink 'options/edit-group', $group}">{xen:phrase edit_group}</a>
</xen:topctrl>
</xen:if>

<xen:form action="{xen:adminlink 'options/save', $group}">

<div class="topChoosers">
<div class="Popup">
<span class="muted">{xen:phrase option_groups}:</span> <a rel="Menu">{$group.title}</a>
<div class="Menu">
<div class="primaryContent menuHeader"><h3>{xen:phrase option_groups}</h3></div>
<ul class="secondaryContent blockLinksList">
<xen:foreach loop="$groups" value="$_group">
<li><a href="{xen:adminlink 'options/list', $_group}">{$_group.title}</a></li>
</xen:foreach>
</ul>
</div>
</div>
</div>

<xen:if hascontent="true"><div class="optionGroupDescription muted"><i><xen:contentcheck>{xen:raw $group.description}</xen:contentcheck></i></div></xen:if>

<ul class="tabs mainTabs Tabs" data-panes="#OptionPanes > li" data-history="on">
<li><a href="{$requestPaths.requestUri}#1">Main Options</a></li>
<li><a href="{$requestPaths.requestUri}#2">User Options</a></li>
</ul>

<ul id="OptionPanes">
<xen:foreach loop="$renderedOptions" value="$_group">
<xen:if hascontent="true">
<li id="{$i}" class="profileContent">
<fieldset class="optionList">
<xen:contentcheck>
<xen:set var="$i">{xen:calc '{$i} + 1'}</xen:set>
<xen:foreach loop="$_group" key="$optionId" value="$renderedOption">{xen:raw $renderedOption}</xen:foreach>
</xen:contentcheck>
</fieldset>
</li>
</xen:if>
</xen:foreach>
</ul>

<xen:submitunit save="{xen:phrase save_changes}">
<input type="reset" class="button" value="{xen:phrase cancel}" accesskey="r" />
</xen:submitunit>
</xen:form>
Save the template and the template is ready.
