Linux development environment with concurrent PHP versions#
To get the most out of the XenForo framework, you'll want to have a local webserver capable of running XenForo, along with capable debugger and a code editor that understands the code and can help you get around it.
Thankfully, these requirements are now simple to meet and won't cost you anything.
The following document and accompanying video will guide you step-by-step to installing everything you need to get started on a system based on Ubuntu Linux.
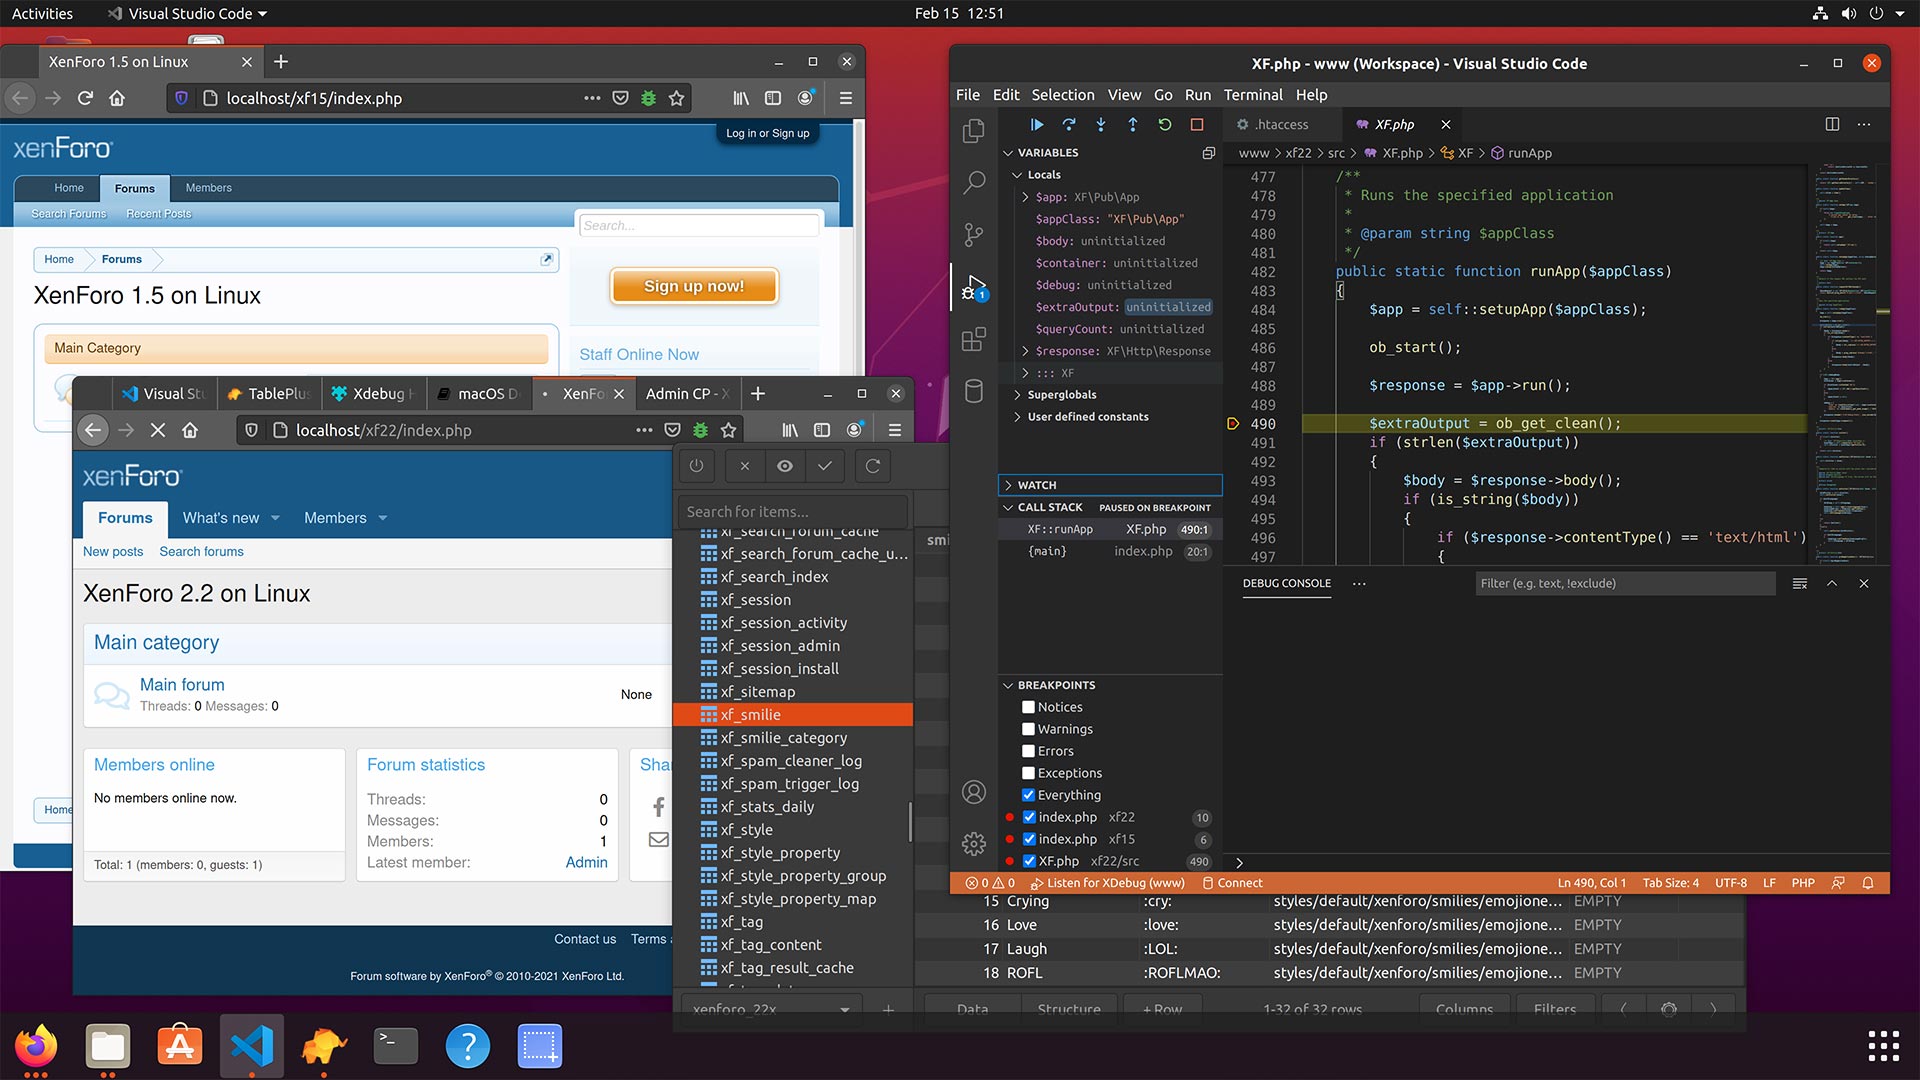
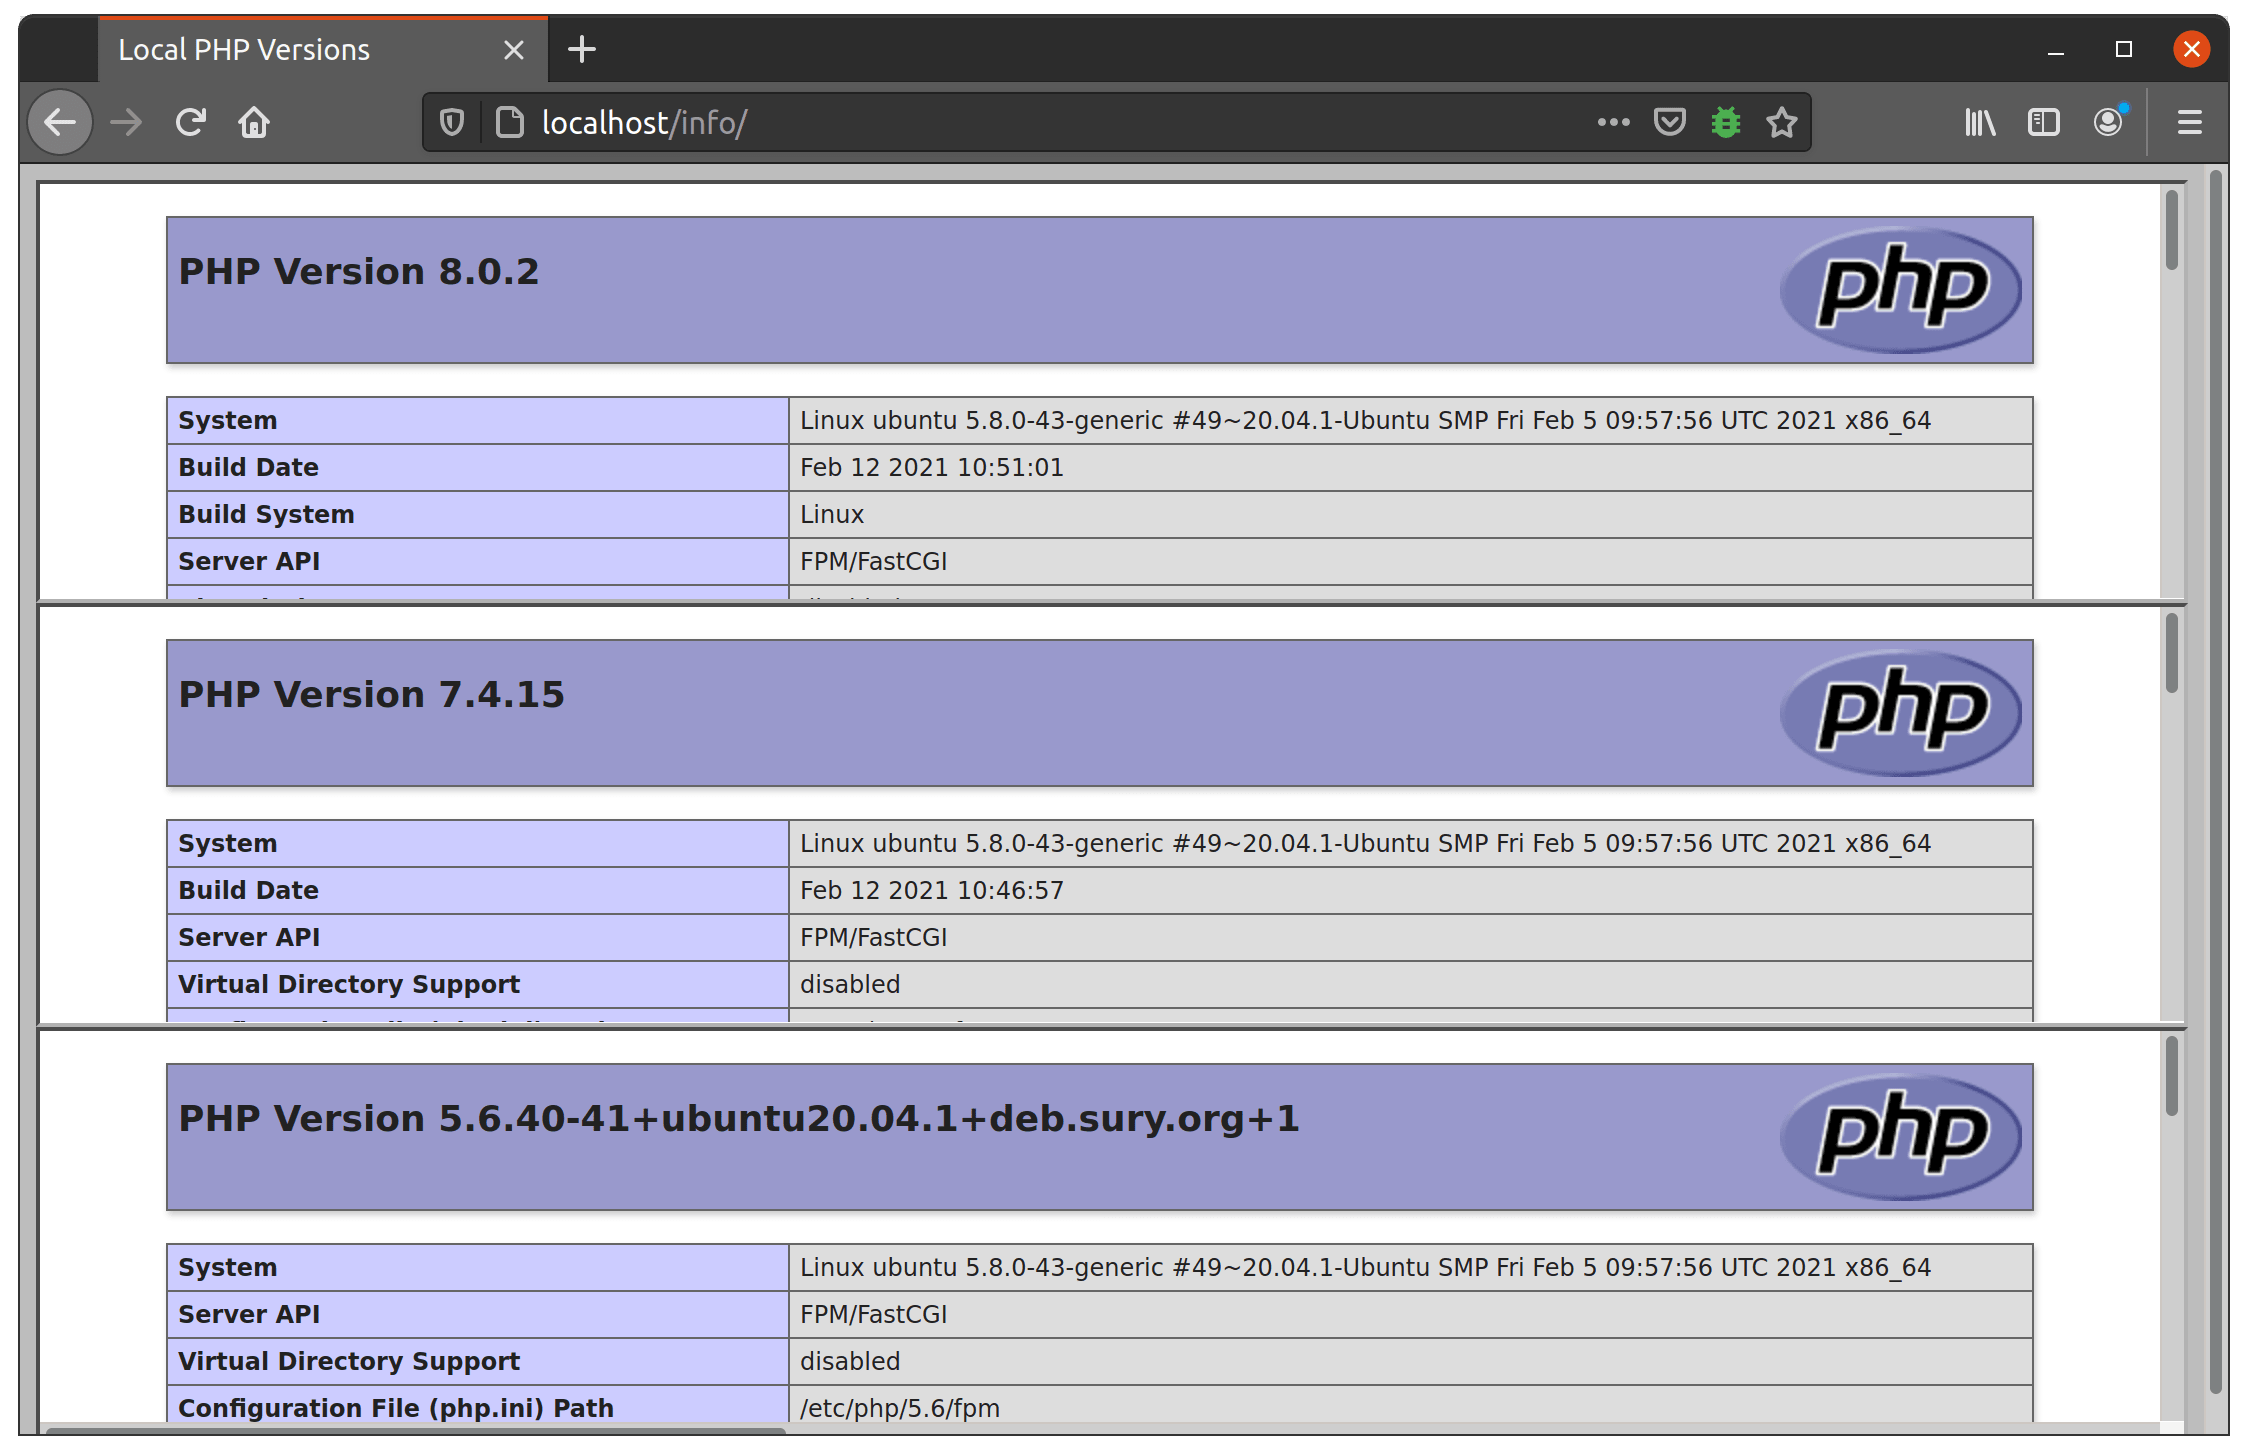
As with our macOS development environment, this configuration will allow you to run multiple versions of PHP at the same time, so you could run instances of XenForo 1.5 on PHP 5.6, XenForo 2.1 on PHP 7.4 and XenForo 2.2 on PHP 8.0 if you wanted to, without having to manually switch the PHP version whenever you want to access a particular version.
Much of the explanation for what we're doing here can be found in our macOS guide, so this document will be fairly short and to the point. If you'd like to just grab the install script then proceed straight to configuring, do so here.
Installing with Apt#
This tutorial is based on an Ubuntu or Debian system, but the principles can be applied to any Linux distribution that makes historical PHP packages available.
APT is the Advanced Package Tool built into Debian-based Linux distributions. It makes the job of installing pre-configured software on Linux a lot less painful than it once was.
Adding new repositories#
To start, we need to instruct Apt to use some additional sources from which to grab packages.
In a terminal, run the following commands:
#!/bin/bash

# PHP versions for Ubuntu
sudo add-apt-repository -y ppa:ondrej/php

# TablePlus (optional)
wget -O - -q http://deb.tableplus.com/apt.tableplus.com.gpg.key | sudo apt-key add -
sudo add-apt-repository "deb [arch=amd64] https://deb.tableplus.com/debian tableplus main"

# ElasticSearch (optional)
wget -qO - https://artifacts.elastic.co/GPG-KEY-elasticsearch | sudo apt-key add -
echo "deb https://artifacts.elastic.co/packages/7.x/apt stable main" | sudo tee /etc/apt/sources.list.d/elastic-7.x.list

# Fetch the latest version info and upgrade existing packages
sudo apt update -y
sudo apt upgrade -y
If you are using Debian rather than Ubuntu, ignore the ppa:ondrej/php line, and run these instead, before you run apt update:
sudo apt-get -y install apt-transport-https lsb-release ca-certificates curl
sudo curl -sSL -o /etc/apt/trusted.gpg.d/php.gpg https://packages.sury.org/php/apt.gpg
sudo sh -c 'echo "deb https://packages.sury.org/php/ $(lsb_release -sc) main" > /etc/apt/sources.list.d/php.list'
Installing packages#
Next, we'll get the software we need installed.
#!/bin/bash

# PHP stuff
sudo apt install php5.6-fpm -y
sudo apt install php7.4-fpm -y
sudo apt install php8.0-fpm -y
sudo apt install php-pear -y
sudo apt install php-memcache -y

# PHP modules
for module in xdebug imagick gettext gd bcmath bz2 curl dba xml gmp intl ldap mbstring mysql odbc soap zip enchant sqlite3
do
    for version in 7.4 5.6 8.0
    do
        sudo apt install php${version}-${module} -y
    done
done

# Apache web server
sudo apt install apache2 -y
# enable Apache FastCGI / FPM module
sudo a2enmod proxy_fcgi

# TablePlus (optional)
sudo apt install tableplus -y

# ElasticSearch (optional)
sudo apt install elasticsearch -y

# MariaDB (MySQL)
sudo apt install mariadb-server -y
Note
Given the presence of the for loops in this script, I'd suggest you save the contents of the box above into a script called install.sh, then chmod 700 install.sh to make it executable, and run it in a terminal.
Configuring#
With all the packages installed, we need to configure them to our needs.
MariaDB#
MariaDB / MySQL needs a little more work after it's installed.
In a terminal, run the following:
In this script, accept the defaults for everything, but ensure that you do set a root password.
Next, run the MySQL client with sudo:
And after you have a working SQL prompt, enter the following queries:
You can now exit mysql, and you won't need to run the MySQL client with sudo any more.
Apache#
We're going to keep all of our Apache configuration in one file.
Open /etc/apache2/sites-enabled/000-default.conf, and add the following code just before the closing </VirtualHost> line.
ServerName localhost
Timeout 3600

<IfModule dir_module>
    DirectoryIndex index.html index.php
</IfModule>

DocumentRoot "/home/kier/Documents/www"

<Directory "/home/kier/Documents/www">
    Options Indexes FollowSymLinks
    AllowOverride all
    Require all granted
</Directory>

<FilesMatch \.php$>
    SetHandler "proxy:fcgi://localhost:9080"
</FilesMatch>
Those instances of /home/kier/Documents/www will need to be replaced with wherever you intend to store your www documents.
Make sure the directory exists before you start the Apache service.
PHP#
We don't need to change much from the default Ubuntu/Debian configuration for PHP, except for some Xdebug directives and instructions for how to run php-fpm.
Xdebug#
Edit /etc/php/5.6/mods-available/xdebug.ini and give it the following contents for Xdebug 2.5.5:
zend_extension = "xdebug.so"
xdebug.remote_enable = 1
xdebug.remote_connect_back = 1
xdebug.remote_port = 9000
Next, edit /etc/php/7.4/mods-available/xdebug.ini and /etc/php/5.6/mods-available/xdebug.ini and give them both the following contents for Xdebug 3.0.x:
zend_extension = "xdebug.so"
xdebug.mode = "debug,develop"
xdebug.discover_client_host = 1
xdebug.client_port = 9000
php-fpm#
Taking the PHP version number, removing the decimal point and adding the resulting integer to 9000, so that 5.6 becomes 9056 and 8.0 becomes 9080, create a file called x.conf in /etc/php/(version)/fpm/pool.d/x.conf for PHP versions 5.6, 7.4 and 8.0.
Give each file the following content:
... changing the username and the 90xx port number appropriately for each PHP version.
Start services#
You can now restart all the services with the new configurations:
#!/bin/bash

sudo systemctl restart elasticsearch
sudo systemctl restart mariadb
sudo systemctl restart apache2
sudo systemctl restart php8.0-fpm
sudo systemctl restart php7.4-fpm
sudo systemctl restart php5.6-fpm
Everything should now be running, so you can follow the instructions to work with multiple simultaneous PHP versions from the macOS guide, placing the files in the www directory you specified in your Apache configuration.
Links to resources#
- dev.sury.org for PHP packages
- Visual Studio Code
- TablePlus
- Xdebug
- Xdebug Helper for Firefox
- Video of this process
Summary#
Terminal commands#
Run the installation commands for Ubuntu or Debian
Configure MariaDB / MySQL#
Run the mysql client as root with sudo, then execute SQL queries to disable plugin-based authentication for MySQL.
Edit Apache VirtualHost#
Edit /etc/apache2/sites-available/000-default.conf to include custom configuration.
Replace the following files#
/etc/php/5.6/mods-available/xdebug.ini/etc/php/7.4/mods-available/xdebug.ini/etc/php/8.0/mods-available/xdebug.ini
Add the following files#
Restart services#
Use sudo systemctl restart for elasticsearch, mariadb, apache2, php8.0-fpm, php7.4-fpm and php5.6-fpm.
PHP-version-targeting .htaccess files#
The following files can be placed inside a directory on your webserver to have all PHP files within that folder use a particular version of PHP.
Rename the files from htaccess.txt to .htaccess after placing them in their destination folder.